Wednesday, December 23, 2015

Burn, baby, burn!!


The fireplace has arrived! It's a lot more sturdy and heavy than we originally thought, which is a good thing! This bad boy is rated for 40' trailers/boats, we have just 25', so it should be more than enough.

We are happy it's finally arrived and we'll be doing a test burn here soon. When one gets a new fireplace, it's always a good idea to let it burn a couple of logs before installing it. The fireplace can/will come with excess oil and whatnot so you don't want that fuming into the home.


Up next?? Coat the roof!! Those materials have also arrived (although not so exciting)...


The top container is a heavy duty sealant that will cover/seal the small holes after we put chalk in them. We were advised multiple times to do it this way, so we are trusting the experts!

The bottom container is a rubber, metal roof sealant that will prevent it from rusting, cracking, breaking, etc.

We'll have to estimate where the fireplace flue will exit the roof, not coat that area, and coat the rest of it. After we do that, we'll be able to move on to slowly and professionally building the framing of the house! After that it's wiring, slight plumbing, then the loft frame. Finally, we'll install the installation and dry wall and be nearly finished. 

Thanks for following along our blog, your support helps us keep going with tenacity!!!

Monday, December 14, 2015

What's next? The roof

Hello everyone!

After a relaxing weekend mixed with work and vacation, we're ready to get back at it. Kiah and I sat together this morning pondering of the next steps to take in this tiny home adventure.

What we figured would be best to do next is prepare the roof for long term weather conditions. At it's current condition, it's not bad, although it's not exactly good either. We have high standards (or at least we try to).

This is what the roof looks like as of now (not the best pictures, I know)...


You can tell the roof already has a sort of white coating on it. I'm not exactly sure what this is, but I can tell you it is for long term weather conditions, but it doesn't hold up to our standards. There are also a few holes in it from when the snow (I think) built up and pushed down on it.


The other day (while Kiah was cleaning the inside of the trailer) I got on top of the roof and sealed the holes. What I plan to do next is permanently seal the holes with a low cost white roof sealant.


The best sealant that we found (for the right price) was Henry's Silicone Seam and Repair Roof Sealant (we don't receive benefits or support from Henry to use them).


We're confident that after we seal the tiny holes with this, then coat the roof twice with Henry's Silicone Roof coating, the roof will be ready to cut and lift! 


What now

What we have planned for now is;

1. Seal the roof, coat it
2. Buy the 6 windows we need for the home
3. Rip out the nasty floor
4. Prepare the sub-floor (but not actually install the wood floor)
5. Begin building the 1st floor frame
6. Cut the roof
7. Place the roof
8. Finish building the loft frame
9. Build the wall on the exposed side of the trailer
10. Place wires where needed
11. Cut the trailer for the windows and door to be placed
12. Place windows and door
13. Put up fireplace!
14. Insulate the beast


As you can see, we have a lot yet to be done. But in my eyes, the hard work is over. Now, we focus on precision and timing. All of the heavy lifting (I hope) is over.

I do talk to contractors and construction workers to get their opinions on the foundation of the home and many think it's good for now. Some express concerns of the tree trunks rotting.


While I do think this is a possibility, I don't think it'll happen anytime soon (within the next 5 years).

Some express concern with the foundation being dependent on the trailer's rear axle due to the shocks; they say it'll bounce. I've asked if the bouncing is a problem and they say no. As long as we can bear it :)

We may make some modifications to the foundation as we go along, but for now it seems sufficient.
   

Saturday, December 5, 2015

Holy swiss cheese!!!

Holy swiss cheese! We finally got the wood out!!
Curious...? check it out! \/ \/

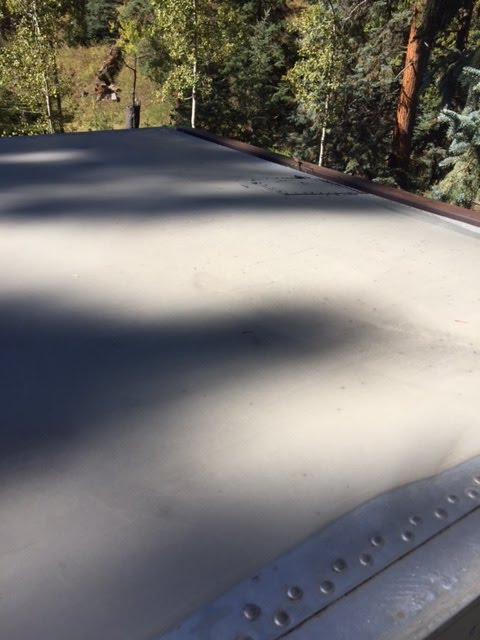
Now, I promised a 'before and after', right? This is sweet... check this out


Not only did we get that nasty smelling wood out, we also removed those strange, super-plastic matts on the ground. They were covered in sand and some strange material that absorbed water and turned to what looked like ice. It wasn't ice...


How it was done

This was very labor intensive, although it shouldn't have been. The reason for this is because the wood was attached to those metal looking studs with what looked like rivets.


The photo on the bottom is what a rivet looks like before it's installed, the photo on the top is what they look like installed in metal. One drills a hole in the material, then sticks the long end of the rivet through the hole, and with a gun looking tool, squeeze the trigger and the metal is smooshed together and creates the photo on the bottom.

The problem with these comes when one tries to remove them. If it was a couple of rivets, no big deal. But there were probably around 50 in the entire trailer, whew! And there is no easy way to remove them. I have to drill some, and use a grinder and others. I'm glad to be done with it.

ANYWAYS, I removed the rivets, one by one, then the wood just popped off. We're gonna recycle the wood, either using it as a skirt for the trailer (to hide the landing gear), or as part of the porch. We might burn some, we might not. Who knows. All we know is we won't throw it away. If anything, it'll go in the compost.


What next??

As you can probably tell, the original floor of the trailer is made of wood (more nasty wood), so we'll have to remove that, then we'll have the metal frame. Without the wood floor, the 'floor' will be just the thick, metal framing that runs from left to right. There's about 20 of those metal structures there so we'll have enough support for the floor.

Before that though, we need to path all of the holes in the trailer (which is why this post is labeled "Holy swiss cheese!!'); there are a lot of them. We will need some kind of metal, waterproof sealant to cover up all of the holes. After that, we'll fix the roof (you can't see it from the photos but the far end of the trailer's roof is bent in a bit).

When we are done with the roof, we'll remove the wood floor, install a sub floor, and begin cutting the trailer for the windows and door. Of course, we will know where the windows and door will be so we won't path up holes, if there are any, in those places.

How will we remove the floor? Good question! I have no idea. It looks simple, but who really knows. The individual plans may be screwed on to something, they might not be. Either case, I'll find out either tomorrow or next week.


Timeline?

I reviewed our timeline and we are actually ahead of schedule (which never happens in construction I hear). At this rate, figuring many mistakes along the way, we should finish the whole thing by the first week of June. This is exciting because we thought we'd finish by the end of June!


Stay tuned! And thanks for reading :)

Wednesday, December 2, 2015

Collecting materials, help us out!

Colorado winter


Now that we're in winter it's time to shift some focus away from manual labor on the actual trailer to collecting materials needed for the tiny house.

Fortunately, when I was browsing the web this morning I came across a sweet website/blog that I'll link here.
This website has been a blessing in disguise! They've revamped my motivation to find recycled material. There is a young man on there that actually built a good looking tiny house for $8,000! That's $2,000 less than us! WOW! They did it by doing all of the labor themselves for for free from other people, getting recycled material whenever they could, and being smart about their build. Sounds possible to me :)


Some materials we'll try getting recycled;

-2x4's (a bunch of those)
-plywood
-insulation
-wood flooring (any color, a total of 210 sq. ft.)
-electrical wiring
-outlet plugs (5)
-light switches (3)
-dry wall (gypsum)
-windows (6)
-door

If you have any of these materials and you aren't using them or you know someone who does, please, let us know! We'll take it!!